Introduction
When managing a WordPress site, whether it’s for blogging, e-commerce, or any professional use, ensuring a smooth, uninterrupted user experience is a must. Here, a staging site turns into a vital resource for WordPress users. By acting as a testing ground, a staging site enables developers and website managers to make and test changes without having an impact on the live website. This is especially crucial when updating WordPress core, themes, or plugins, as these changes may cause incompatibilities or break your website.
In essence, a staging site acts as a critical step in a professional web development workflow, enabling WordPress users to manage and implement website changes systematically and securely.
Why is a staging site important?
Is a staging site really necessary? The importance of a staging site in the context of web development, particularly for WordPress sites, cannot be overstated. A staging site serves several critical roles in ensuring the smooth operation, security, and continuous improvement of a website. Here are the key reasons why a staging site is important:
- Safe Testing Environment:
A staging site provides a safe and isolated platform where all types of changes, updates, and new features can be tested without affecting the live website. This means that any errors, bugs, or issues can be identified and fixed in the staging environment without risking the performance or functionality of the live site.
- Prevents Downtime:
By using a staging site to test changes, you significantly reduce the risk of your live site going down due to a faulty update or incompatible plugin. Downtime can be costly, especially for e-commerce sites or businesses that rely heavily on their online presence.
- Quality Assurance:
Staging sites allow for thorough testing and quality assurance before changes are made live. This includes checking for visual consistency, functionality, compatibility with different browsers and devices, and the overall user experience.
- Update Verification:
WordPress regularly releases updates for its core software. Also, themes and plugins are regularly updated. A staging site enables you to test these updates to ensure they work seamlessly with your site’s customizations and existing setup.
- Secure Development:
Developing directly on a live site can be risky, as it can expose your site to security vulnerabilities. A staging site ensures that development is done in a secure environment, reducing the risk of security breaches.
- Collaboration and Feedback:
For teams, a staging site offers a collaborative environment where developers, designers, content creators, and other stakeholders can work together. It’s easier to gather feedback and make iterative improvements without disrupting the live site.
- Performance Testing:
Staging sites allow you to test the performance impact of your changes. This is particularly important for large-scale sites, where even minor changes can have a significant impact on loading times and overall site performance.
- Backup and Rollback:
In case something goes wrong during the update process, having a staging site means you have a recent backup of your site. This makes it easier to roll back changes if necessary.
Setting Up a Staging Site
Everything is easy in WordPress using plugins, isn’t it? Let’s discover how we can use the WP Staging plugin to set up a new staging site.
Step 1: Search and install the WP Staging plugin
- Search and install the WP Staging plugin on your WP Dashboard. After installation, activate the plugin.
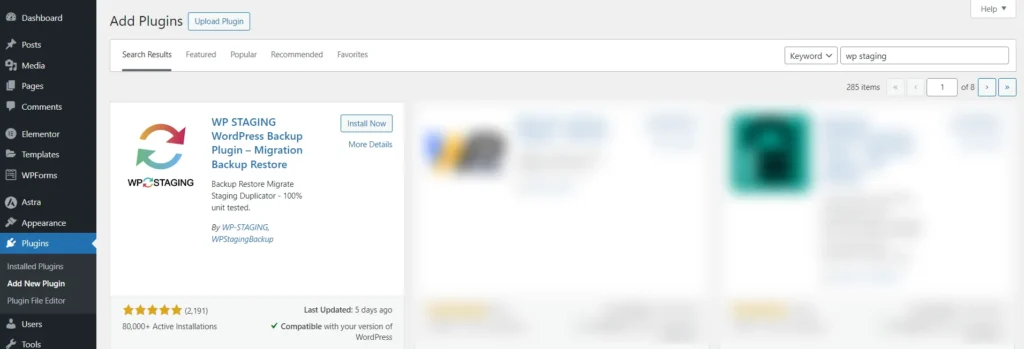
Screenshot 1: Install WP Staging Plugin
- Allow and continue to enable security alerts.
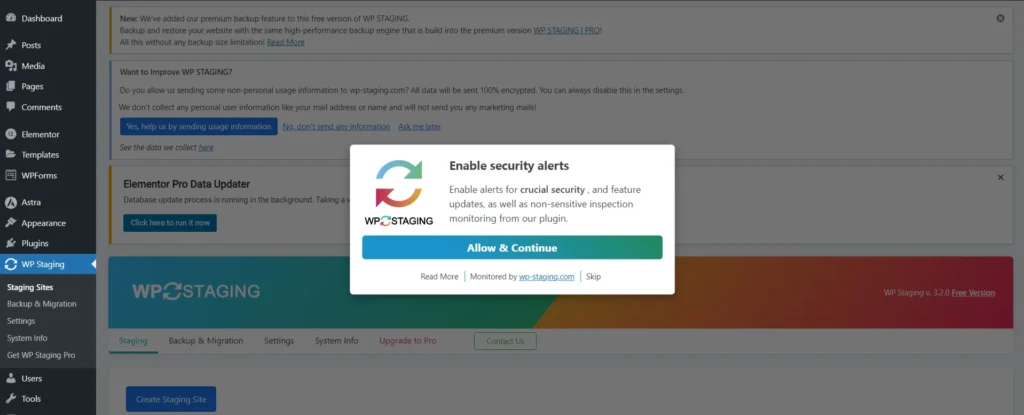
Screenshot 2: Enable security alerts.
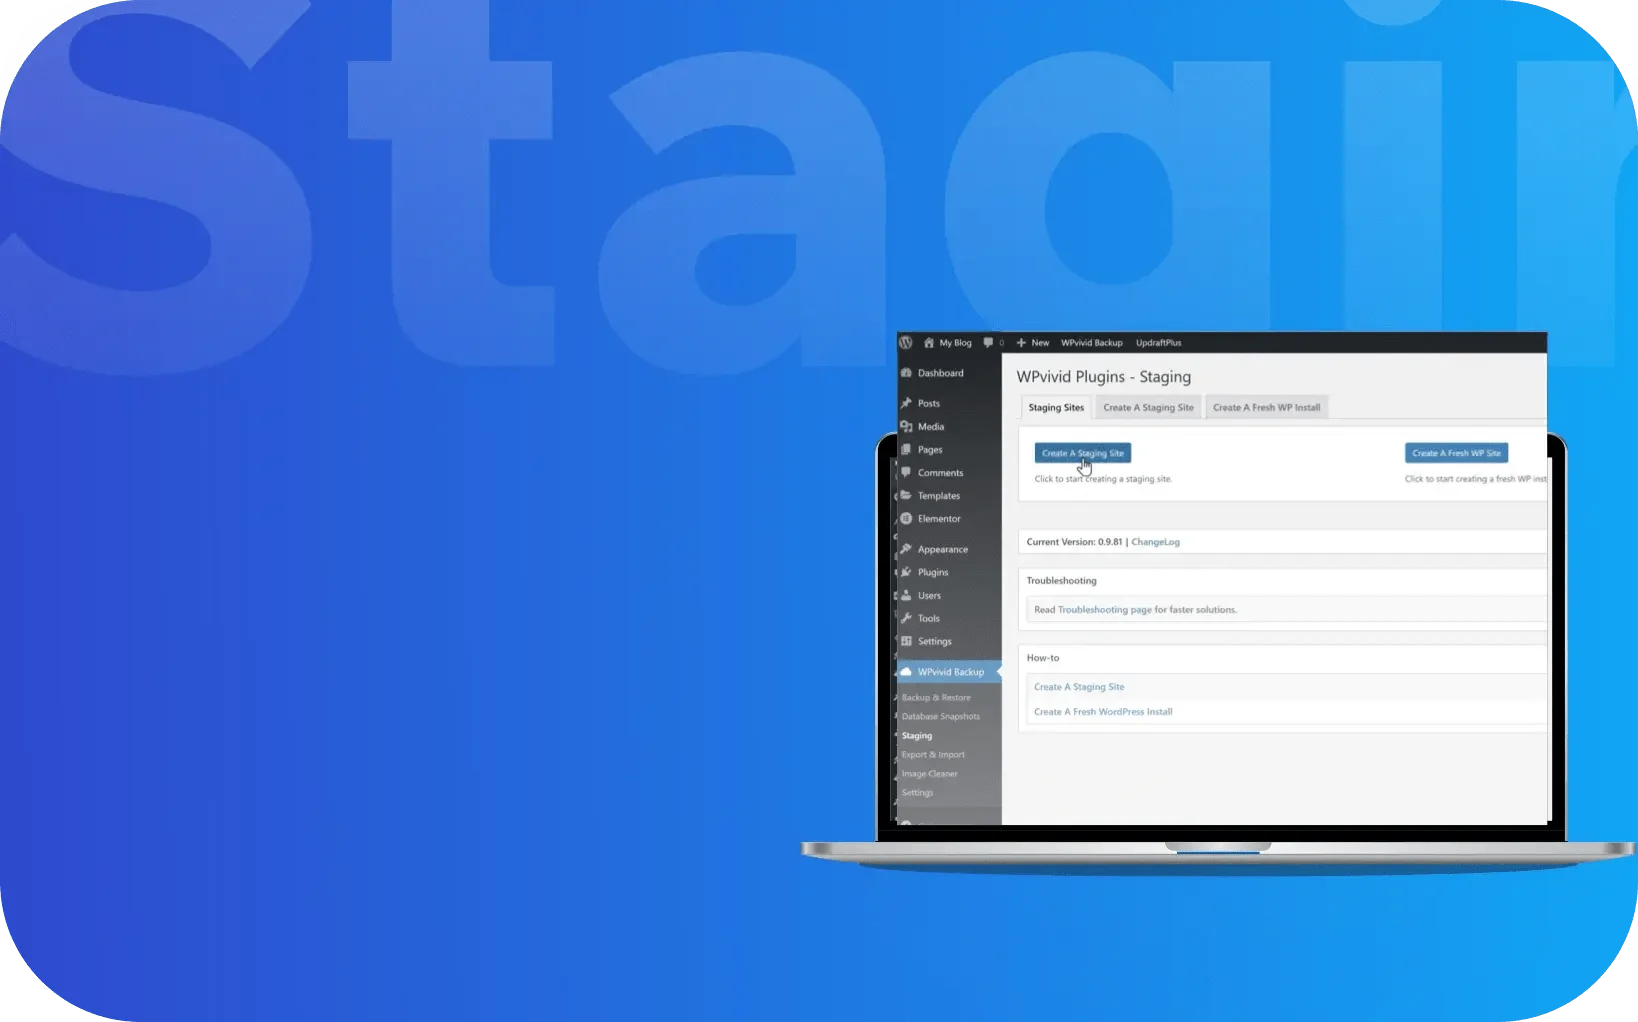
Step 2: Create a Staging Site
- Click on Skip and Start WP Staging link. You will be redirected to Staging sites submenu.
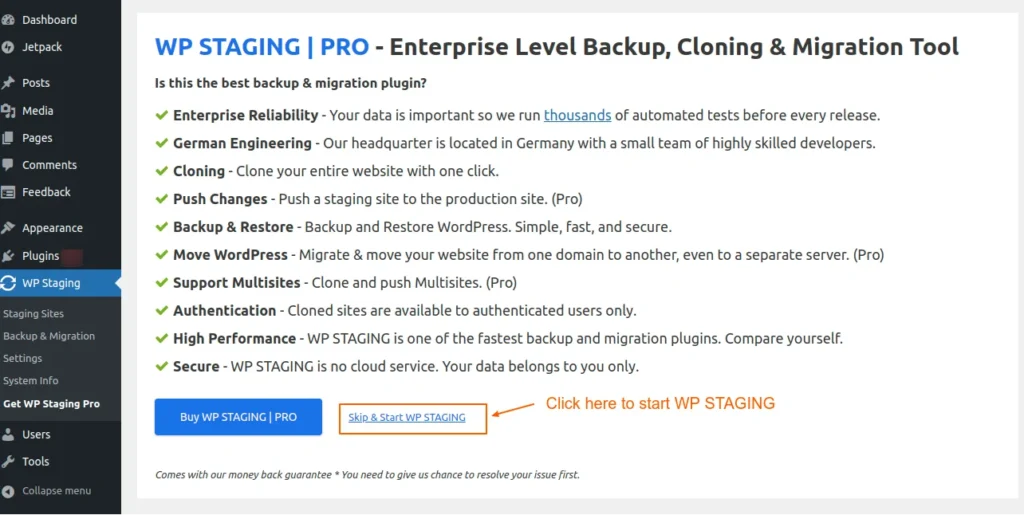
Screenshot 3: Skip and Start WP Staging
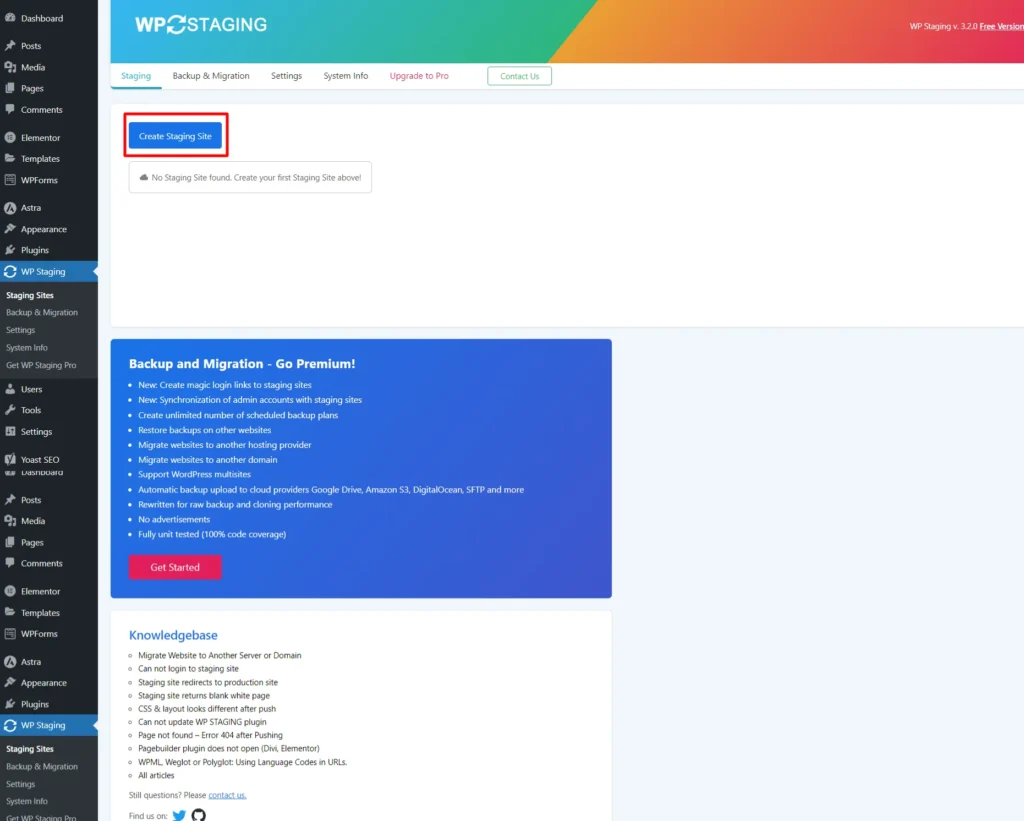
Screenshot 4: Click on Create Staging Site
- Next, click on “Create Staging Site”. Enter the name of the staging site that you want to create. (This is an optional step).
- Here, the database tables and files are selected by default. However, you can unselect some tables or files if you don’t want to clone them.
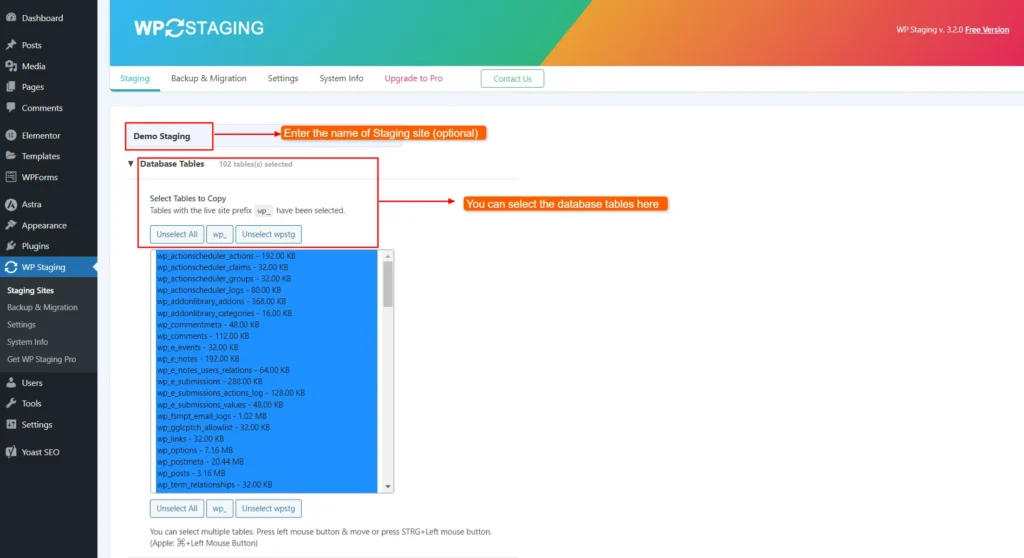
Screenshot 5: Selecting Database Tables
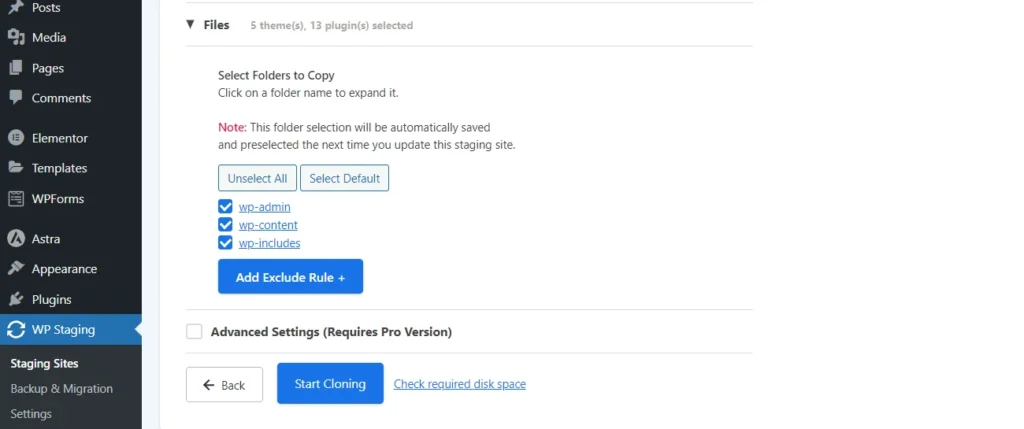
Screenshot 6: Selecting Files
- Click on “Start Cloning.” A display would show the current status of the staging site’s progress.
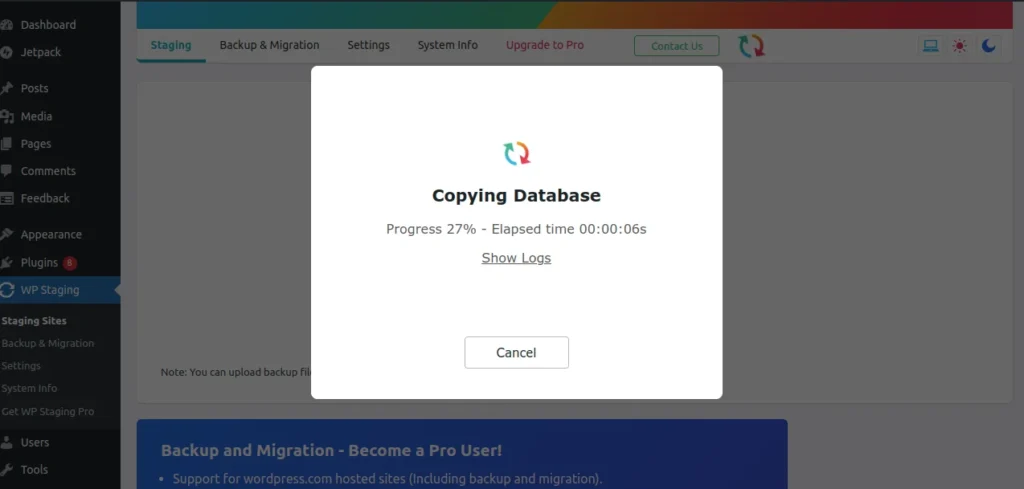
Screenshot 7: Staging site creation
- When the data is processed, the staging site is ready and the URL is displayed.
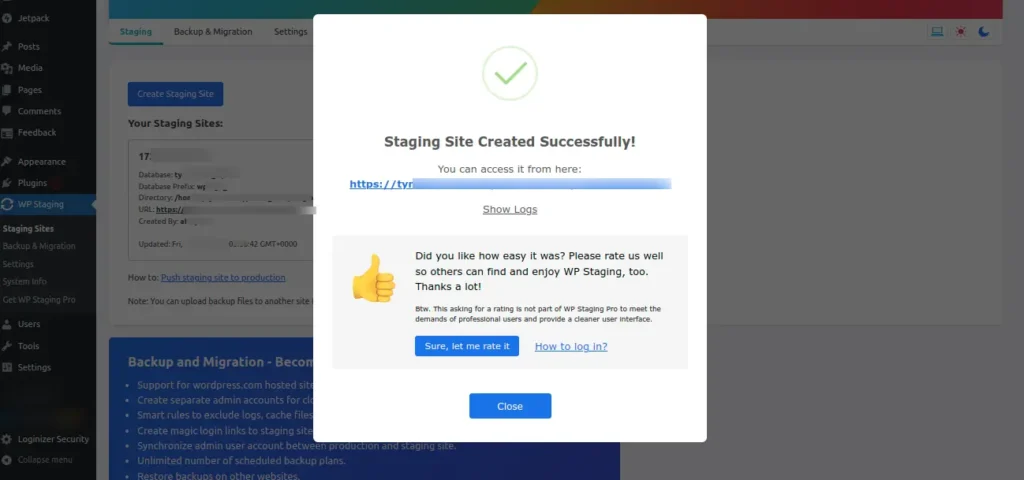
Screenshot 9: Staging Site Created Successfully
- If you click on Show Logs, you can see the entire process of logging that was done to create the staging site.
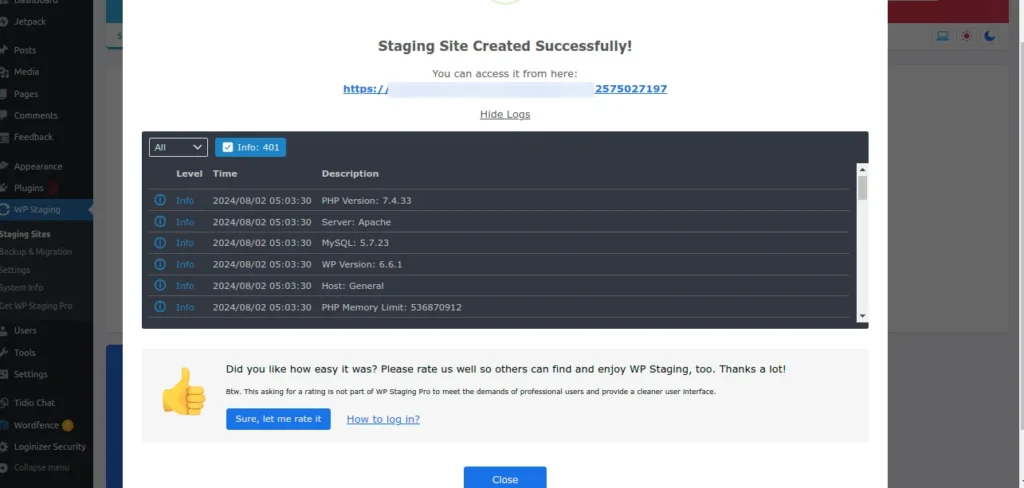
Screenshot 10: Logos
- When you click on the URL of the staging site, you’ll be required to login to the staging site. Use the same credentials as your site.

Screenshot 11: Login Page of Staging Site
- Enter the details, and your staging site is ready to use! You can access your staging site at any time from WP Staging.
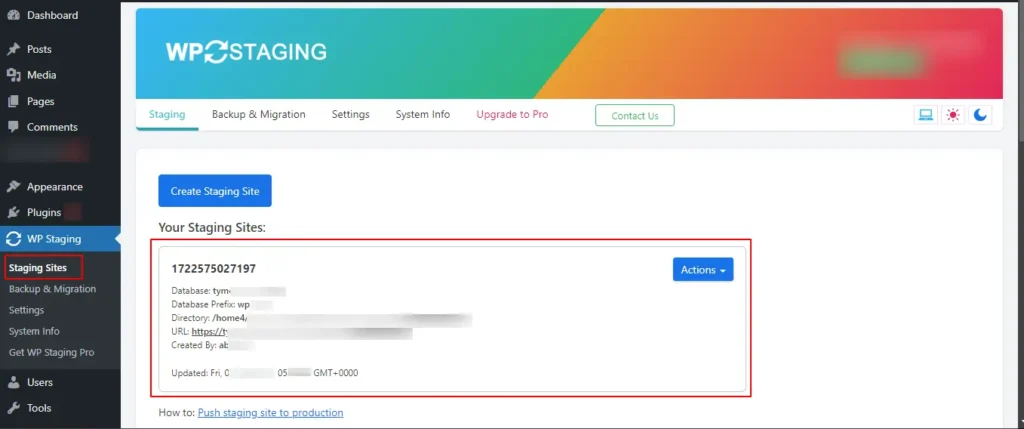
Screenshot 12: Access your staging site from WP Staging
Conclusion
In conclusion, setting up a staging site is a crucial step in website development and maintenance.
The WP staging plugin simplifies the process, making it accessible even to those with limited technical knowledge. Remember that a staging site is your best ally in ensuring that your live website runs smoothly, efficiently, and without interruptions.
Build
Website
Themes